COF Monroe’s Christmas party was held December 14th! Everybody attended and the food was great!! We had a variety of dishes catered by Designer Foods out of Monroe,LA.
Employee News
Tech Tuesday Series 2 Week 4: Finale Security is like Onions
Announcements:
1. Tomorrow will be our second refresher over Microsoft Teams at 9 AM.
2. Per our movement toward NIST compliance going forward no device,, should have resident information stored on it. When I conduct visits all computers, tablets and other COF-owned devices will be evaluated for compliance. If you have questions about this see me.
We’re now in the fourth week of our cybersecurity series. Over the past weeks, we’ve learned about password managers, how to install LastPass, the dangers of phishing and other socially engineered online scams, secure password creation and sharing, and other tools we use to protect ourselves.
Good Cyber security is like onions there are multiple layers of safeguards and walls in place. Each one serves a purpose. The first line of defense is always using best practices and internet common sense.
One note do not use the same password for everything even slight variations make it harder for malicious people.
![SOLVED] Your best Internet Meme Security Awareness poster - IT Security](https://s3.amazonaws.com/cdn.freshdesk.com/data/helpdesk/attachments/production/151054141930/original/imtBRemFX1r7nxEzBi4j2aUf1AA3tbdqqw.jpeg?1703010074)
This week, we’re focusing on what to do if you suspect you’ve been a victim of a cyber threat or your computer is infected.
Step 1: Identify the Issue If you notice any suspicious activity such as unfamiliar emails in your sent folder, unexpected password reset emails, or unauthorized transactions, you may have been targeted.
- Check Your Accounts: Regularly review your online accounts for unauthorized activity or changes. This includes email, social media, bank accounts, and any other services you use.
- Monitor Your Emails: Be aware of unexpected password reset emails, emails about changes to your account settings, or emails from unknown senders.
- Look for Performance Changes: If your device is running slower than usual, crashing, or displaying frequent error messages, it could be a sign of malware.
- Watch for Unusual Network Traffic: An unexpected increase in data usage could indicate that a malicious program is using your network.
- Be Aware of New or Changed Files: If you notice new files on your system that you didn’t download, or if existing files were modified without your knowledge, it could be a sign of a security breach.
- Check Your Browser: Unexpected changes in your browser, such as new toolbars, extensions, or a changed homepage, could indicate a problem.
- Use Security Tools: Use the security tools available in your operating system to scan for issues. City of Faith Utilizes a program called Trend Micro for our security. If your system does not have this or you don’t know how to use it please see IT
Step 2: Report the Incident Immediately report the incident to our IT department at City of Faith IT email Include as much detail as possible about what you’ve observed. Screen Shots are always helpful. It’s best practice to tell IT what you clicked on and when the problem started Occurring.

Step 3: Change Your Passwords If an issue is identified IT will recommend all your passwords be changed. Change your passwords for all your accounts, starting with your email and financial accounts. Remember to use LastPass to generate and store strong, unique passwords. See Here for more information.

Step 4: Monitor Your Accounts Keep a close eye on your accounts for any further suspicious activity. If you notice anything unusual, report it immediately.
Step 5: Be Cautious of Scam Attempts Be wary of any emails or messages asking for personal information. Always verify the source before clicking on any links or providing information. Do not install anything on your device without first getting IT department approval. All programs must be evaluated for security compliance.
Step 6: Educate yourself on Malware Malware, short for malicious software, is any software intentionally designed to cause damage to a computer, server, client, or computer network. It’s a broad term that encompasses various harmful types of software, including viruses, ransomware, spyware, and trojans. Malware can steal, delete, or encrypt your data, alter or hijack core computing functions, and spy on your computer activity without your knowledge or permission. It often spreads via email attachments, software downloads from the internet, or operating system vulnerabilities. It’s important to use antivirus software and follow good security practices to protect against malware.
70% OF ALL MALWARE GOES UNDETECTED BY ALL ANTIVIRUS SOFTWARE BECAUSE USERS ALLOW IT IN
There are several common types of malware that you should be aware of:
1. Ransomware: This type of malware disables the victim’s access to data until a ransom is paid.
2. Fileless Malware: This malware makes changes to files that are native to the operating system.
3. Spyware: This collects user activity data without their knowledge.
4. Adware: This serves unwanted advertisements.
5. Trojans: This disguises itself as desirable code.
6. Worms: This spreads through a network by replicating itself.
7. Rootkits: This gives hackers remote control of a victim’s device.
8. Keyloggers: This monitors users’ keystrokes.
9. Bots: This launches a broad flood of attacks.
10. Mobile Malware: This infects mobile devices.
11. Wiper Malware: This erases user data beyond recoverability.
Each type of malware has its own characteristics and methods of operation. It’s important to have a good understanding of these types in order to protect your computer effectively. Let me know if you need more information on any of these types.
Physical Security
Physical Security should be monitored as well. Here are some tips for maintaining a safe and secure work environment:
- You should not leave your computer open with sensitive information at any given time.

2. Do not write your passwords on sticky notes and out in the open.
![Security Awareness Memes | CarmeloWalsh[.]com](https://s3.amazonaws.com/cdn.freshdesk.com/data/helpdesk/attachments/production/151054141935/original/DEu3QKSGbR1q46N1RJs4LXjhhrabErKWeg.png?1703010074)
a. The best way to secure your passwords is by using last pass and MFA. One of the changes coming to City of Faith in the near future is to add MFA to all City of Faith Utilized Software.
Recent studies have actually indicated the most secure form of password protection is called Passwordless

Passwordless security is a type of authentication that doesn’t use passwords or any other secret you need to remember to verify who you are. Instead, it uses something you have, like a device or a hardware token, or something you are, like a fingerprint or face scan.

The main advantage of passwordless security is that it gets rid of the risks that come with using passwords. These risks include having your password stolen, using the same password for multiple accounts, and the constant need to manage and remember passwords.
Passwordless authentication also makes signing in easier and quicker, which can make people more productive. It also increases security by getting rid of password-related risks.

When setting up passwordless security, it’s important to choose methods that make sense for the people using them and the devices and networks they’re using. It’s also a good idea to use multi-factor authentication, which means you need to provide two or more forms of authentication before you can access an account.

In summary, passwordless security is considered a best practice because it makes things more secure, easier for users, and reduces the need for managing passwords. However, like all security measures, it should be used as part of a wider security strategy that includes other protections like firewalls, antivirus software, and secure network protocols.

3. Devices when not in use should be kept behind locked doors(don’t leave your office unlocked)
4. Inspect your system for external devices not placed by you regularly. As a general rule we should not have unauthorized devices plugged into our computers you don’t want to be responsible for accidentally uploading a virus to COF.

5. Only use City of Faith Authorized equipment. Don’t use a home device without prior authorization and written approval.
Remember, your security is our top priority. If you have any questions or concerns, please don’t hesitate to reach out to our IT department.

Our next Series will be targeted toward the New Forms Bureau and the Different things available to everyone there. As always if you are having issues please submit a ticket. This article can always be reviewed on the Help Desk Knowledge Base and Cofess.
2023 Q4 All Staff Meeting
Questions about the Core Values, Accountability Chart, & the Vision/Traction Organizer updated for 2024? Click here.
Tech Tuesday Series 2:Part 3 Password Sharing and our Shield Wall

Announcements
- Tomorrow is City of Faith’s Annual Christmas Party
- A 4th COF jacket order is coming.
- Microsoft Teams Deadline has been extended to February 14th.
- 2 additional training sessions will be held over Teams. The first will be Wednesday December 20th.
- The last pass training sessions will be conducted in February while I travel to each location.
Last Pass Password Sharing
City of faith deploys two ways to do password sharing. The first is through https://1ty.me/ as pictured below. You can find all of this here

The other method which is more secure is by using Last Pass. Last Pass has a built-in password-sharing feature that can be found by going to your vault.
- Go to the password you want to share with others.
- This can be found by scrolling through the passwords or by typing in the URL or site name of the password you’re looking for. For the purposes here I’ve used the URL DummyUrl

-
-
- The Password can be viewed by hitting the wrench icon.
- After you hit the wrench, you can then view the Password by clicking the eyeball.
-
- To Share the password, you hit the person icon next to the wrench on the search screen.
- You then fill out the pop-up box that will appear.

-
- The email address would be the email of the person you want to share this with, the allow recipients to view the password gives them the ability to view the password.
- Then make sure you hit share.
- The user will then receive an email with a link authorizing them to view the shared password.

-
- I have shared the password link with all of you created in this process feel free to let me know where the journey took you this time. It’ll show up in your sharing center under shared items.
Tools we use to protect ourselves.
The greatest tool against getting scammed is first and foremost your brain and critical thinking skills. But outside of that COF has some great tools we use to minimize the threat.
-
- Cloud Storage- Storing resident data on local computers is a slippery slope in today’s era and leaves our clients and staff vulnerable to identity theft and fraud. We utilize a virtual cloud hosted server through Revver(formerly Efile) to store all resident files.
- Anti-Virus and Firewalls- All COF devices should have antivirus installed on their devices. We use Trend Micro. This allows us to put in companywide safeguards including URL filtering, and malware protection for those trojan style viruses. (If you for some reason do not have antivirus, see IT)
- MDM – MDM or Multi Device Management allows our systems to be on the same program and see current vulnerabilities and adjust policy instantly to all devices as they occur. We do this through Microsoft 365. (If you for some reason do not have MDM, see IT)
- Last Pass- Last pass allows us to securely store and save passwords making it easier to meet security requirements such as NIST 800-53 and FedRamp requirements (like those 90-day password changes). (If you for some reason do not have LastPass see IT)
- 2(multi) factor Authentication- Most people are probably familiar with this process through systems such as R3M. When you type in your email it sends you a code and then requires your password input as well. This will be coming to all COF programs that offer it within the next year. I recommend utilizing a Authenticator app to make your life easier See Here
- Forms Bureau- The Forms Bureau allows us to maintain, contain, and retain company proprietary information and is HIPPA compliant. The forms bureau is on cofess (if you don’t know how to access this information see IT).
- Company Policies and Secure Access- We maintain a secure access policy in compliance with FedRamp and NIST regulations that basically state the lowest access needed for all parties to do their jobs. For example, Case Managers can’t access Employee files because that doesn’t pertain to their job. Anyone who does any hiring has access to a form that sets these access controls and must fill it out even in cases of temporary access requests.
More about Scams
Instead of going over these 1 by one I’m going to provide you with a list of scams I’m familiar with and if you see something say something. The majority of scams that will be up to you to watch out for are called social engineering scams. These are scams where the perpetrators have created a scenario that will lure you the user into a situation that is favorable to the scammer.
Certainly, there are various scams on the internet that people should be aware of to protect themselves. Here are some common examples:
1. Phishing Scams:
– Email Phishing: Fraudulent emails that mimic legitimate sources to trick users into providing personal information, such as login credentials or financial details.
– Website Phishing: Fake websites designed to look like legitimate ones to steal login information or financial data.
2. Online Shopping Scams:
– Fake online stores that offer products at extremely low prices to lure customers but never deliver the goods.
3. Tech Support Scams:
– Unsolicited calls or pop-ups claiming to be from tech support, stating that your computer has a virus and offering to fix it for a fee. Legitimate tech support companies don’t contact users this way.
4. Lottery or Prize Scams:
– Emails or messages claiming you’ve won a lottery or prize, but to claim it, you need to provide personal information or pay upfront fees.
5. Romance Scams:
– Scammers build a romantic relationship with someone online and then request money for various reasons, such as a medical emergency or travel expenses.
6. Investment Scams:
– Fake investment opportunities promising high returns with little or no risk. Always be cautious and research thoroughly before investing.
7. Social Media Impersonation:
– Fake social media profiles impersonating someone you know or trust, aiming to extract personal information or money.
8. Job and Employment Scams:
– Fake job offers that require payment for training or materials, or requests for personal information that can be used for identity theft.
9. Cryptocurrency Scams:
– Fake ICOs (Initial Coin Offerings), fraudulent exchanges, or Ponzi schemes in the cryptocurrency space.
10. Ransomware Attacks:
– Malicious software that encrypts your files and demands payment for their release. Regularly back up your data and be cautious with email attachments.
11. Freelance Scams:
– Fake job listings that require payment for access to opportunities or promise payment for work that is never actually completed.
Always exercise caution when dealing with unfamiliar websites, emails, or messages. Be skeptical of unsolicited communications and verify the legitimacy of sources before providing personal or financial information. Keep your software and antivirus programs up to date to protect against malware and other online threats.
As always this can be reviewed on the City of Faith Help Desk or on Cofess.

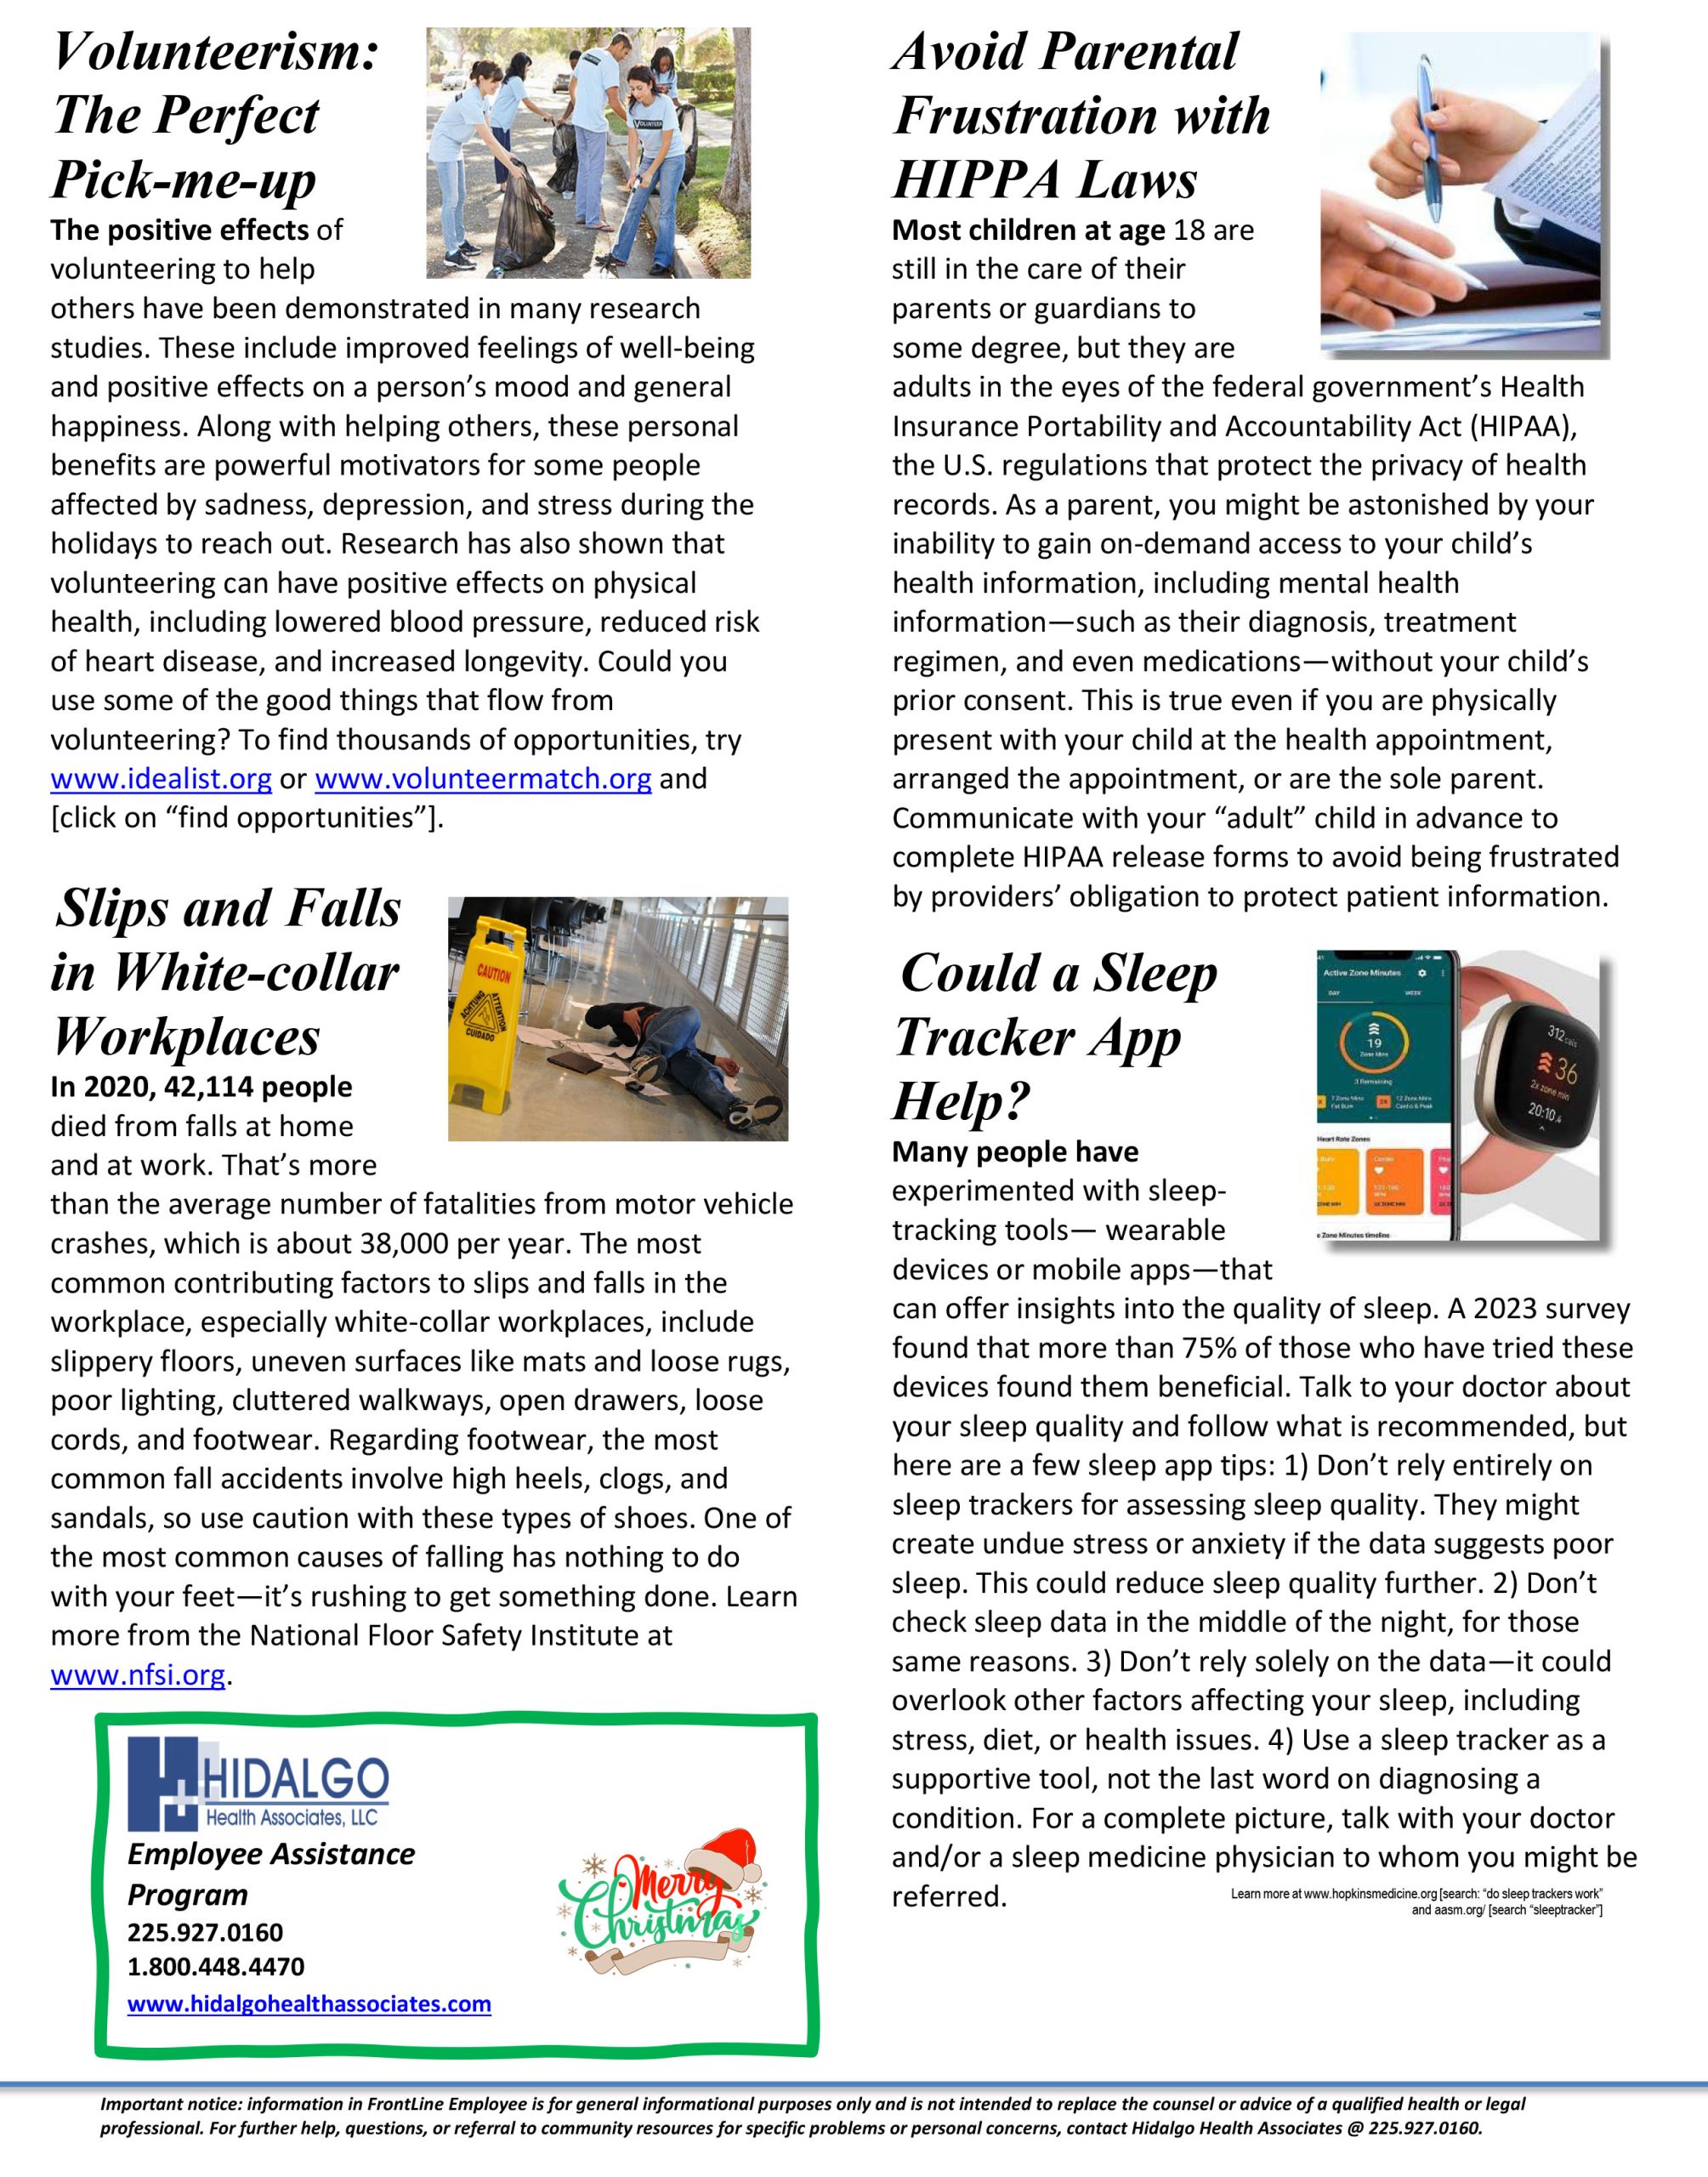
December 2023 EAP Newsletter
