
Announcements:
- Congrats to Ms. Coleman on Winning The Trailblazer Award!
- Forms Bureau is in full swing if it’s on Cofess it’s good to use. Please contact me if you have questions!
In order to continue our Journey in becoming more secure as a company I got a lot of requests for a tutorial on how to sign up for Last Pass. So I’ll bump password sharing to next week’s article. First let me stress this is an amazing password manager available to every person at this company just for being an employee. It is a secure way to share and store passwords and it notifies you if a password was seen on a data breach.
Last pass helps also helps us as a company reduce how often and how managed our passwords need to be by managing one password and letting Last Pass take care of the rest.
TABLE OF CONTENTS

Join a LastPass business account as a new user
You can join your company’s LastPass Business or LastPass Teams account (once you’ve been invited by a LastPass admin) by activating a new LastPass account.
The steps below outline the activation experience for a brand new user whose email address was not associated with any existing LastPass account.
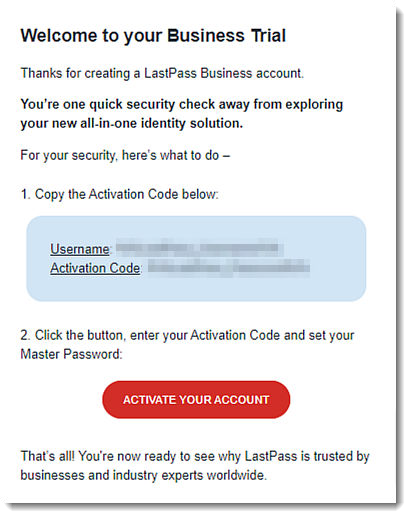
- Open the Welcome email you received from LastPass with the subject line, “Activate your account to get started.”
- Copy the Activation code.
- Select Activate Your Account.
- Once redirected to the “Finish account creation” page, paste the Activation code into the field (your LastPass email address is already pre-populated for you).
- Create a new master password, then re-enter it to confirm. If desired (recommended) set a Reminder – this is a clue that is sent in a reminder email to help you remember your master password if it is ever forgotten).
- Select Continue

Result: Your LastPass vault is then de-crypted and re-encrypted to use your newly created master password to log in to LastPass going forward.
- Once your account is created, choose from the following options for installing the LastPass browser extension:
- If you already have the LastPass installed, click OK on the confirmation page, and you are redirected to your LastPass vault.
- If you do not have LastPass installed, you can click Install LastPass on the confirmation page to install the LastPass browser extension and log in.
8. You have successfully activated your LastPass Business or LastPass Teams account, and are now logged in to your vault.
Other Types of Scams
Password Protection isn’t the only way we avoid scammers and having our information stolen.
Adware
Scammers often hide malicious software in pop-ups and links. It’s crucial never to click on a link if you’re unsure of its destination, and the same caution should apply to unfamiliar articles or pop-ups. For more information, click Here!

Phishing:
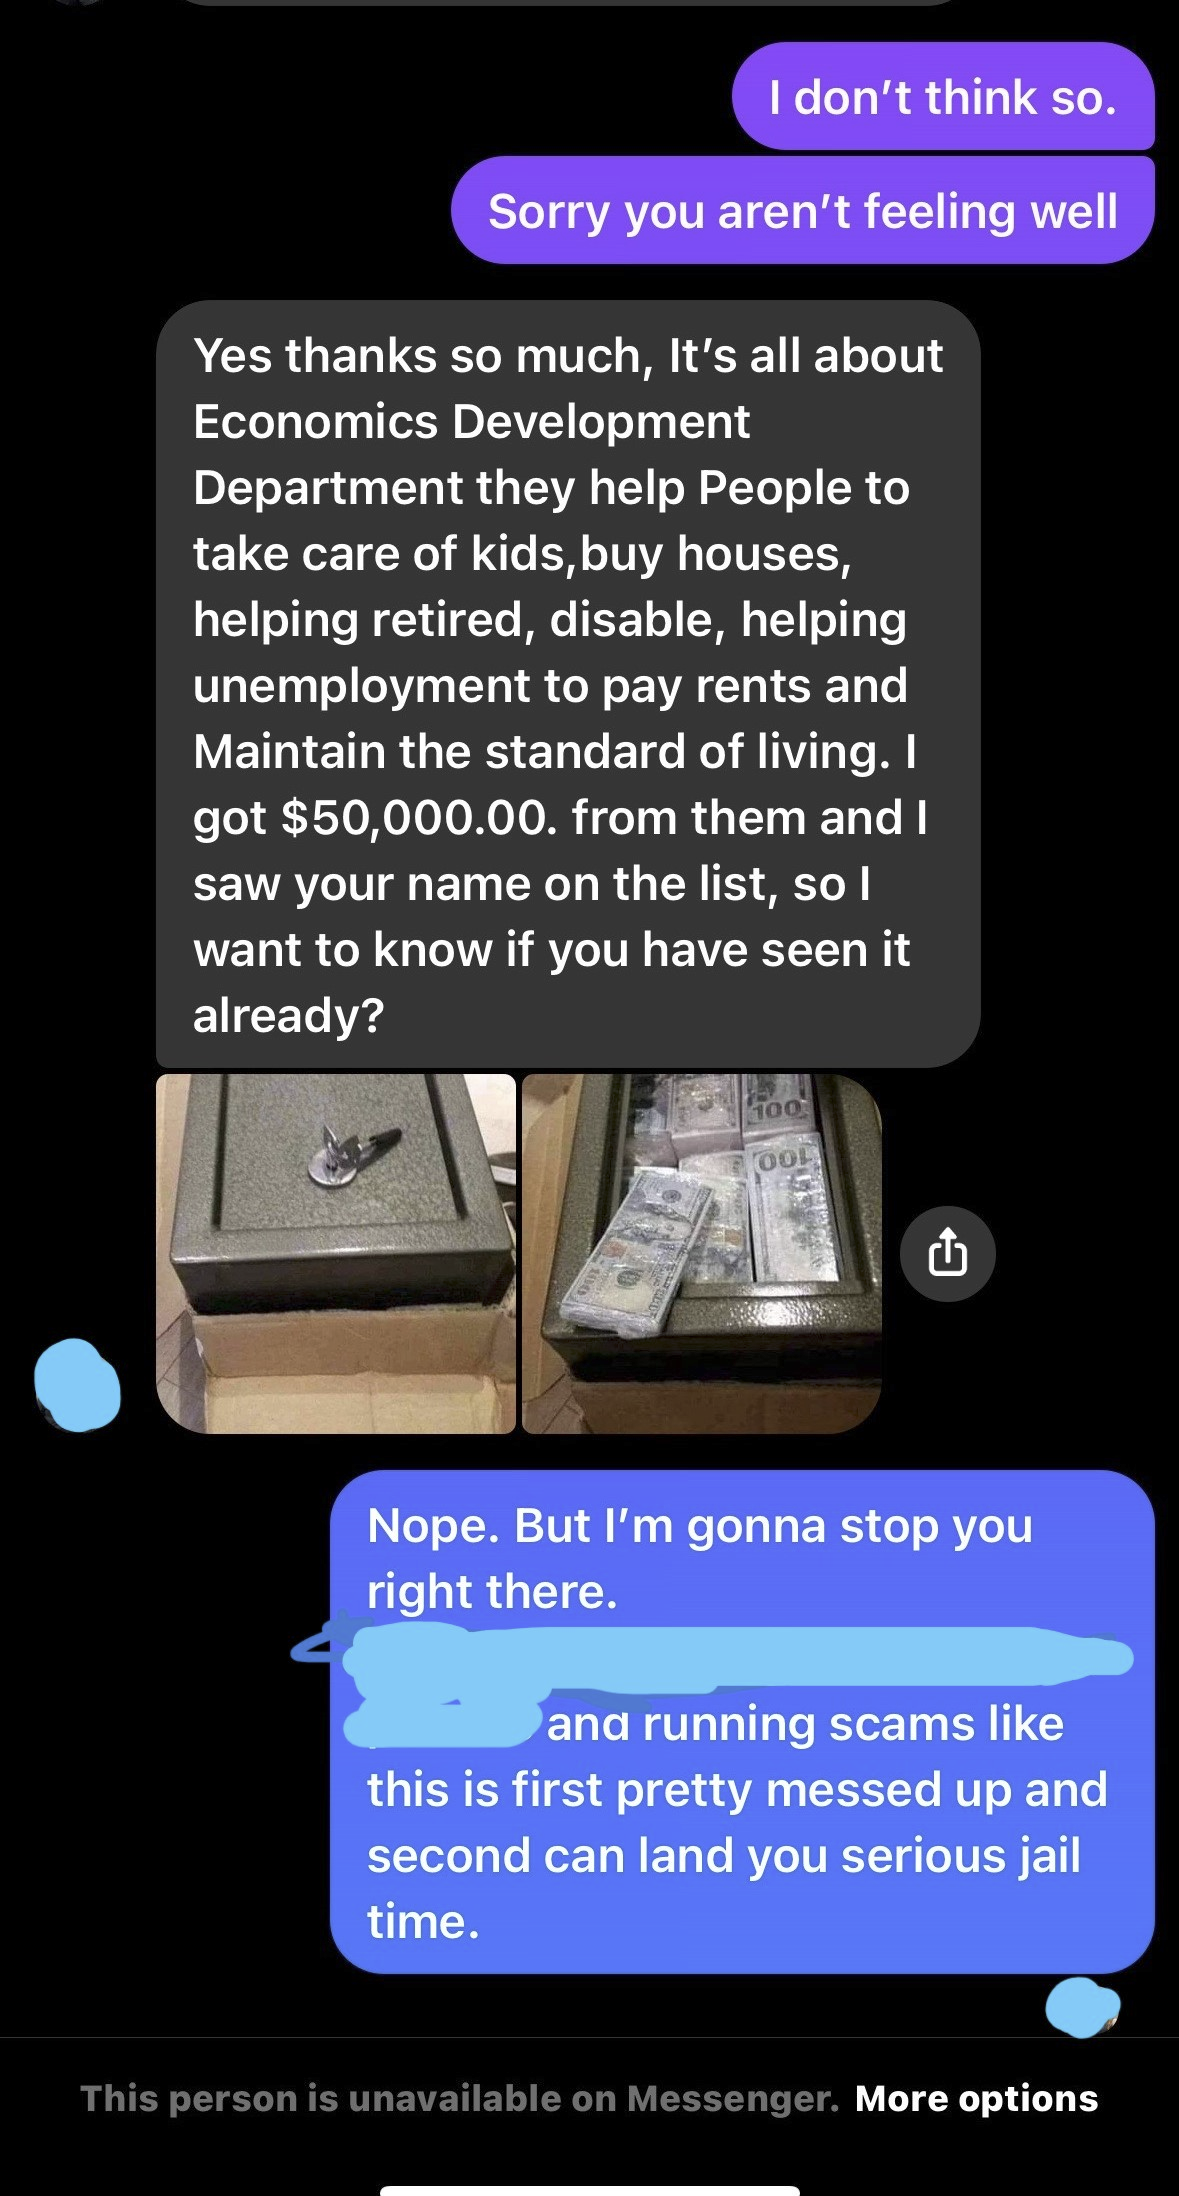
Beware of scammers who may reach out, pretending to be familiar contacts or trusted sources like Windows Defender. I recently experienced such an incident myself. The scammer posed as a friend, using a common tactic that I’ve observed affecting others in our community.
Typically, these scammers initially pretend to be someone you know, perhaps a distant acquaintance or relative. They often provide a plausible excuse for not engaging in a video call or phone conversation, citing reasons like a sore throat, as was the case in my encounter. Following this, they attempt to establish contact with you and then proceed to boast about the success of their fraudulent activities, often involving a significant sum of money.
Subsequently, they may claim to have come across your name on a certain list (there’s almost always some list involved) and offer to assist you in acquiring a similar financial gain. However, this is where it takes a turn for the worse—they typically request something less traceable, such as Apple gift cards or funds through cash apps. They will invent reasons for being unable to perform the requested actions themselves.
If you find yourself in such a situation, it is advisable to promptly change your password on the relevant platform and clear your browsing history. Stay vigilant and exercise caution to protect yourself from falling victim to these scams.
Some helpful advice for cyber security in general.

Don’t Be like Grumpy Cat

 In March of 2023 the COF Chiefs of Security, under the direction of Director of Security Sam Williams, wanted to establish an award that recognized the leading security officer at City of Faith. Through these meeting sessions the Roderick T. Pettus Trailblazer Award was created. During the course of the year the Chiefs nominated various winners for the weekly award, the Reginald T. Ellis Chief’s Cup. From these weekly winners a close raise began between Rosemary Coleman (Baton Rouge), Jasmine Toately (Little Rock), and TaRhonda Williams (Monroe). From these 3 location nominees a close vote decided the winner. On November 28, 2023, Rosemary Coleman was awarded the inaugural Pettus Trailblazer Award.
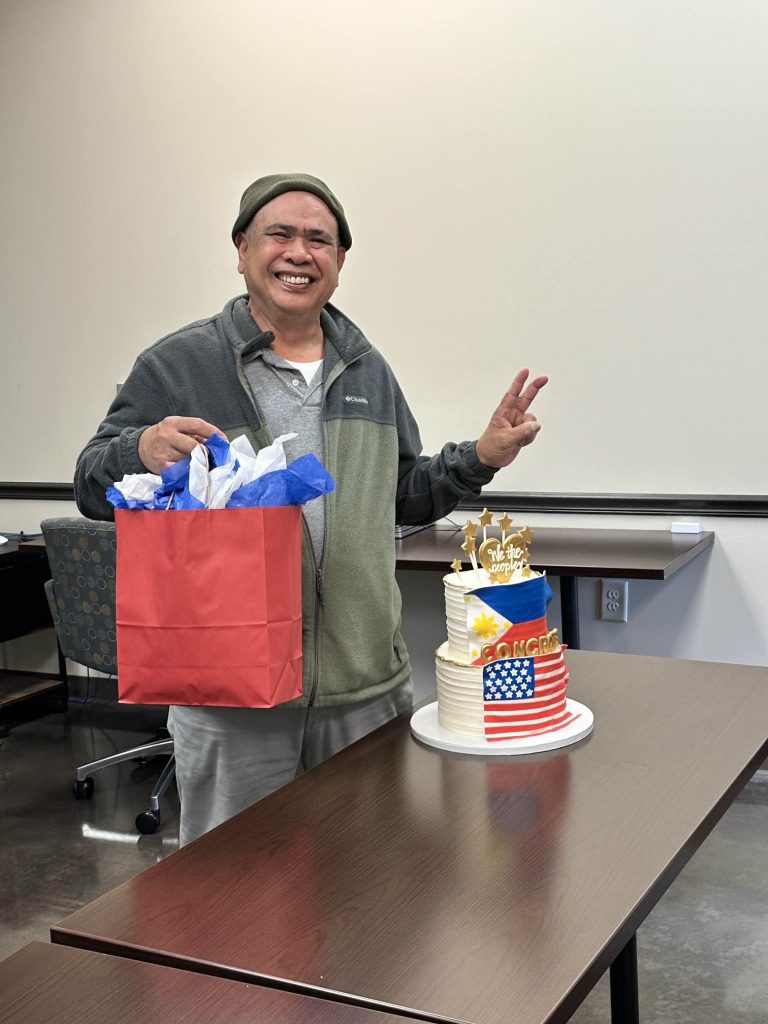 At the November 2023 staff meeting, the Little Rock location celebrated Carlos Reyes recently passing his citizenship exam and interview. Reyes has worked for City of Faith since 2016. In 3 weeks he will take his oath officially gaining his American citizenship. A cake was made by former City of Faith employee Catie Morrow to celebrate Mr. Reyes heritage and his new citizenship.
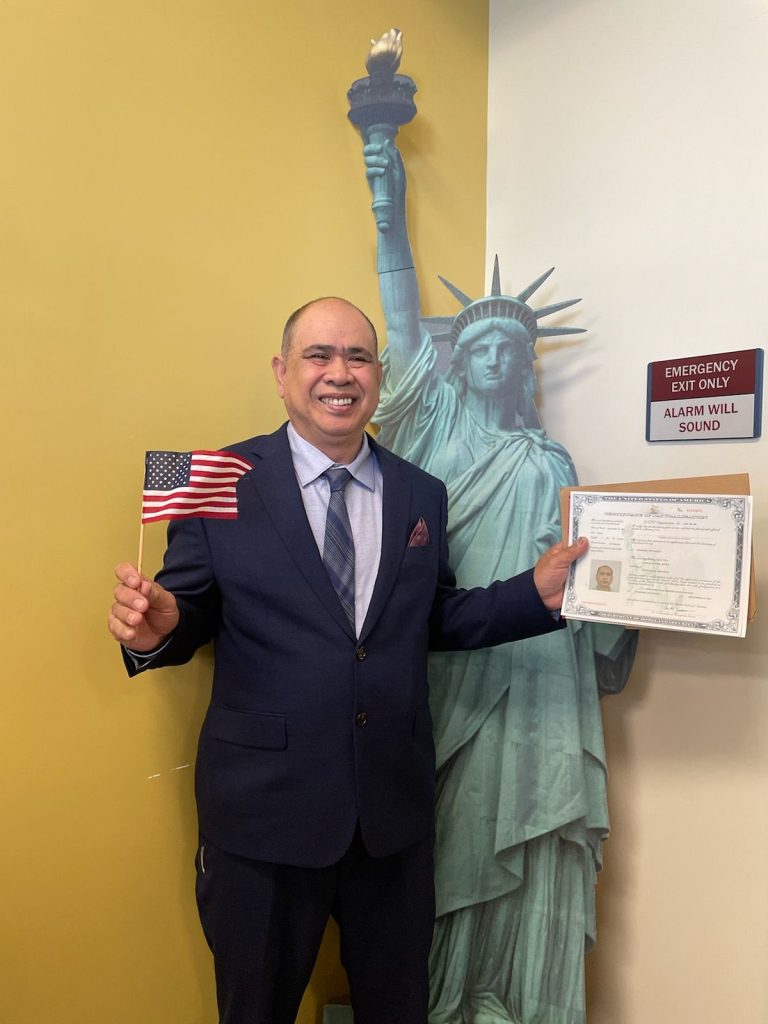